The First Freeze Dryer Batches Guide: What to Run and How to Get It Right
June 18, 2026

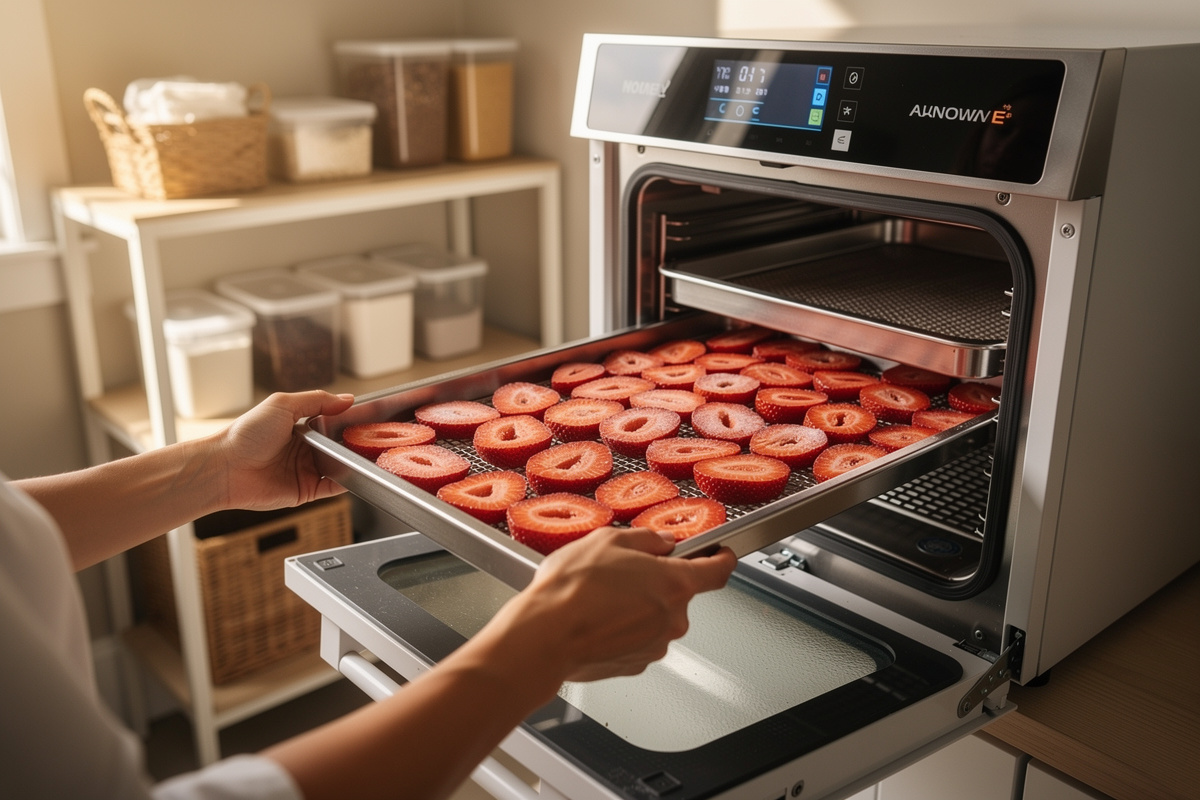
Your first freeze dryer batch should be a single tray of sliced strawberries or a thin layer of frozen sweet corn, run at the machine’s default settings with the food pre-frozen solid. In my batch log, that simple load finishes in roughly 24 to 36 hours and teaches you the whole cycle without wasting expensive food.
I planned a utility-room install around this machine years ago, and the thing nobody tells you up front is that the freeze dryer is the easy part. The skill is the batch: what you load, how thick, how cold it goes in, and how you confirm it actually came out dry. Get those right and every later load gets predictable. Get them wrong and you will pull a tray that looks finished, seal it, and discover three weeks later that the center was still soft. This guide is the operator’s manual the category never wrote, built from years of logged loads, including the failures that taught me more than the manual did.
What Should Your First Freeze Dryer Batch Be?
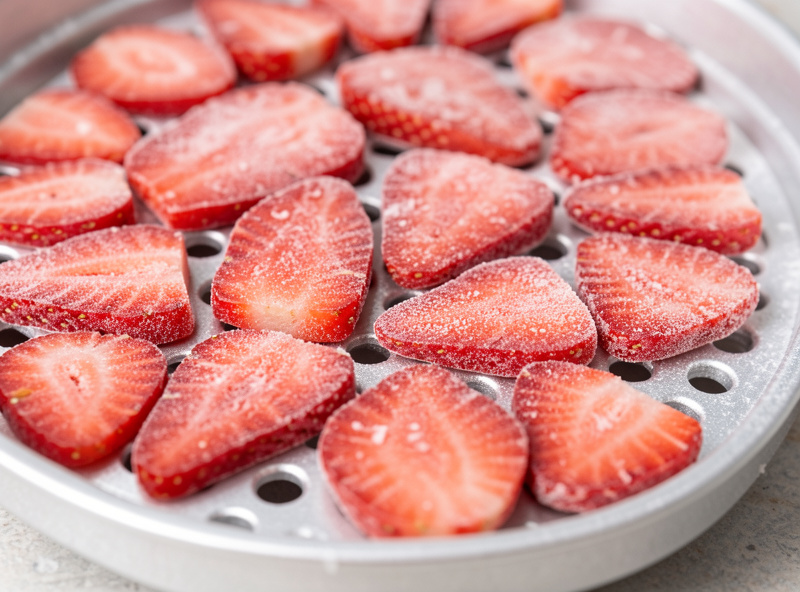
The best first freeze dryer batch is a single tray of one easy food, pre-frozen solid: sliced strawberries, frozen sweet corn, or diced apple. One food type, uniform thickness around a quarter inch, no liquids, no fat. That load runs the full cycle in roughly 24 to 36 hours and gives you a clean result to judge.
The reason I steer everyone toward fruit or a simple vegetable is that they show their work. A strawberry that came out right snaps and shatters; one that is still moist in the middle bends. You learn the snap test on food that makes the answer obvious before you trust the machine with a whole load of meal-prep dinners. Save the candy experiments, the liquids, and the dense protein loads for after you have three or four clean batches logged. The full first-load decision, including which fruits forgive a beginner’s mistakes, is its own deep dive in this cluster.
There is a second reason fruit wins the first slot, and it is purely practical. Cheap, frozen, store-bought strawberries cost a few dollars a bag and are already washed and often sliced. If your first cycle goes sideways because you mis-set something, you are out a bag of berries, not a Sunday’s worth of cooked dinners. I have watched new owners load a packed tray of homemade chili for batch one, lose the whole thing to a botched cycle, and walk away discouraged. Treat the first three loads as tuition. Run cheap food, log everything, and read the result honestly. By batch four you will have a feel for your specific machine’s rhythm, the sound of a healthy vacuum pull-down, and how long a thin fruit tray actually takes in your room at your altitude.
Why Pre-Freeze Before You Load the Trays?
Pre-freezing food solid before it goes into the chamber shortens the cycle and protects yield. Food loaded warm forces the machine to spend hours just freezing it down, and partially frozen food can slump or weep on the tray. In my log, pre-frozen loads consistently finish faster and dry more evenly than same-food loads I rushed in warm.
The chest-freezer assist is the cheapest upgrade to your process, and it costs nothing but planning. I lay trays in the freezer overnight, or freeze food flat on sheet pans and transfer it, so everything hits the chamber already at deep-freeze temperature. The machine’s own freeze stage still runs, but it has far less work to do. The full method, including how cold is cold enough and why it matters for tray density, gets its own dedicated guide below in this cluster.
There is a subtler payoff to pre-freezing that the marketing never mentions: ice-crystal structure. Food frozen slowly grows large crystals that rupture cell walls, and that rupture is what makes some rehydrated food mushy. Food frozen fast and hard, the way a deep chest freezer does it, keeps a tighter structure that rehydrates closer to fresh. For a first batch this is a secondary concern, but it is the kind of thing you start to notice once you have a few loads logged and begin comparing a strawberry you rushed in warm against one you froze hard overnight. The second one looks better, holds shape better, and tastes closer to the original. Once you see that difference, pre-freezing stops feeling like an optional step and becomes part of how you run every load.
How Thick Should You Load the Trays?
Load trays in a single even layer about a quarter to half an inch deep, with food spread to the tray edges but not piled. Tray density is the variable that most often turns a planned 30-hour cycle into a 48-hour one. Thick spots and piled centers trap moisture and dry last, which is why uneven loads fail the snap test in the middle.
I weigh my loads and log the weight against cycle time, because density and water content together drive everything. A tray packed deep with dense food holds more total water and pulls a longer cycle; the same food spread thin finishes sooner and more evenly. The honest tradeoff is throughput versus reliability, and early on you want reliability. Consistent thin layers, same trays, same weights, are how you make cycle times predictable. The density rules, including what overloading actually does to your dry time, are covered in their own guide in this cluster.
There is also a uniformity rule that beginners miss: keep the pieces on a tray the same size. A tray with both thin apple slices and thick apple chunks will finish the thin ones long before the thick ones, and the cycle runs until the slowest piece is done. That means the thin pieces over-dry while you wait on the chunks, and your dry-check reading depends entirely on which piece you happen to test. Cut to a consistent thickness, spread evenly, and your whole tray finishes together. The same logic applies across trays in a single load. If one tray is packed and another is sparse, the machine cannot finish them independently, so you are always waiting on the heaviest tray. Balancing the load across trays is a small habit that makes your logged cycle times actually mean something.
Can You Freeze Dry Liquids on Trays?
Yes, you can freeze dry liquids like broth, milk, or pureed fruit, but they require pre-freezing in the tray and careful handling so they do not slosh into the chamber during pull-down. A half-inch of liquid frozen flat in the tray dries cleanly; an overfilled tray of unfrozen liquid is how you contaminate the machine.
Liquids are an intermediate skill, not a first batch, which is why I keep them out of the beginner load. The technique is to freeze the liquid solid in the tray first, keep depths shallow, and accept that high-sugar or high-fat liquids behave differently and may stay tacky. Powders from milk or broth are some of the most useful things this machine makes, but they reward patience. The full liquids-on-trays method, including the fill depths I use, is detailed in its own cluster guide.
How Do You Tell When Freeze Drying Is Done?
You confirm a batch is done with three checks: the snap or crumble test, a weight comparison against your log, and a temperature check that the food has warmed to room temperature. A properly dried strawberry shatters; one that bends or feels cool in the center is still holding moisture and needs more time.
This is the discipline the category skips, and it is the single most important habit you can build. The cheapest mistake in freeze drying is sealing a load that was not actually dry, because residual moisture in a sealed bag is what ruins long-term storage. I check the densest, thickest piece, not the easy edge piece, and I weigh the tray against my logged target. If anything is questionable, it goes back in. The complete dry-check routine, including the weight-loss math, is a dedicated guide in this cluster.
The weight check is the one most beginners skip, and it is the most objective of the three. When food is fully dry it stops losing mass, so if I weigh a tray, add an hour of dry time, and weigh it again with no change, that load is done. A load still dropping weight is still releasing moisture. The snap test catches the obvious failures, but the weight check catches the marginal ones, the loads that feel dry on the surface but still hold a trace of moisture deep inside a thick piece. The room-temperature check is the simplest: a tray that comes out cool still has sublimation happening, pulling heat as moisture leaves, so cool food is wet food. Between the three checks, you almost never seal a bad load, and that single habit is worth more to your long-term storage than any premium accessory.

What Do You Do When a Batch Is Not Done?
When a batch fails the dry check, you run extra dry time rather than calling it finished. Most home freeze dryers let you add additional dry cycle in increments, and a load that failed the snap test in the center usually needs another two to six hours. Re-running is normal, not a malfunction.
The instinct to accept a not-quite-dry load is the most expensive habit in this hobby, and I had to break it myself after sealing one too many soft loads early on. The re-run criteria are simple: if the thickest piece bends, if the weight has not dropped to your logged target, or if any piece feels cool, add dry time. Thicker future loads, colder pre-freeze, and thinner tray density all reduce how often you have to re-run. The full decision tree for adding extra dry time is covered in its own guide in this cluster.
What surprises new owners is that re-running costs very little. The extra dry stage runs the heaters and the vacuum without the energy-hungry freeze stage, so adding a few hours is cheap compared to losing a whole load. There is no penalty for over-drying either; food that is already dry simply sits there once it has given up all its moisture. That asymmetry is the whole argument for caution: under-drying ruins a load you will not discover for weeks, while over-drying costs you a couple of hours of cheap run time. When in doubt, I add time. After enough logged loads you learn which foods routinely need the extra stage, and you start building it into your plan rather than discovering it at the end. Dense items, anything sugary, and thick liquid layers are the usual suspects, and noting that pattern in your log is exactly how the re-run stops being a surprise.
Why You Should Keep a Batch Log From Day One
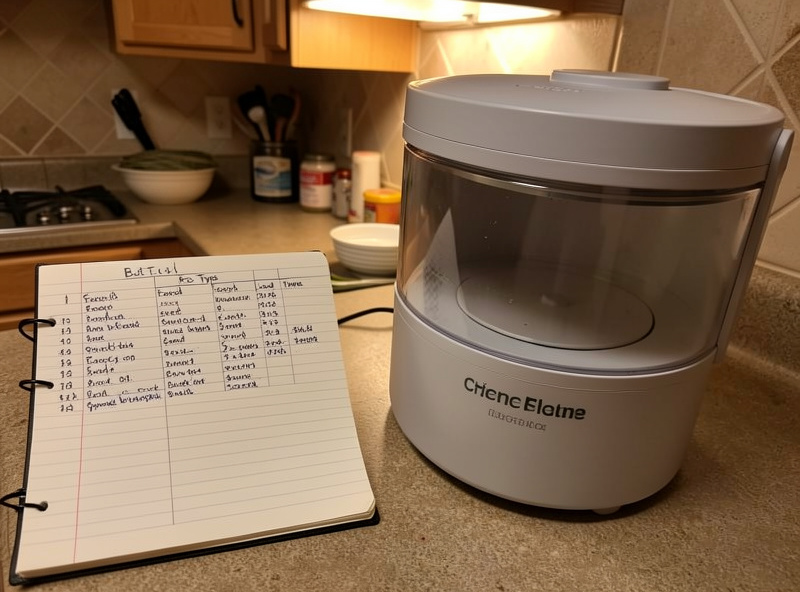
A batch log is the single habit that separates owners from operators, and it costs nothing but a notebook. For every load I record the food type, how it was prepped, the load weight going in, the pre-freeze method, total cycle time, the dry-check result, and how it was packaged. After a dozen loads, that log answers questions the manual never will, like exactly how long your machine takes with two pounds of sliced strawberries in your room.
The reason this matters so much for beginners is that freeze drying has too many variables to hold in your head. Cycle time depends on food type, water content, load weight, tray density, your ambient temperature, your altitude, and the age of your pump oil. No generic chart can predict your result, but your own log can, because it controls for all of those by recording your actual machine in your actual room. My curing chamber taught me to trust logs over feelings, and the freeze dryer rewards the same discipline. The first time you can confidently tell a friend “two pounds of apple slices, pre-frozen, takes my machine about 30 hours,” you will understand why I push the notebook before I push any accessory.
The First-Batch Mistakes Almost Everyone Makes
The most common first-batch mistakes are overloading the trays, skipping the pre-freeze, and sealing a load that was not actually dry. All three come from the same impulse: trying to get more out of the machine faster. In my experience, every one of them costs you more in wasted food or wasted time than the patience it would have taken to do it right.
Overloading is the big one. New owners see the chamber’s capacity and want to fill every tray to the brim, then wonder why a 30-hour cycle stretched past 48 and still failed the dry check in the center. Skipping the pre-freeze is the second, usually because someone is in a hurry, and it adds hours while risking a load that weeps and contaminates the chamber. The third, sealing a soft load, is the most expensive because you do not find out for weeks, when a bag you stored has gone off. A fourth quieter mistake is not labeling and dating bags, which turns a freezer full of dried food into a mystery pile. None of these are hard to avoid. They just require treating the first few batches as a process to learn rather than a race to fill the pantry.
First Batch Food Comparison
Not every food is a good teacher for your first cycles. This table ranks common starter loads by how forgiving they are, how clearly they show the dry check, and roughly how long they run pre-frozen in a single thin layer. Cycle times are from my batch log and vary with load weight, tray density, and your specific machine.
| Food | Difficulty | Dry-Check Clarity | Typical Cycle (pre-frozen, thin layer) | First Batch? |
|---|---|---|---|---|
| Sliced strawberries | Easy | Excellent (snaps cleanly) | ~24-30 hours | Yes, ideal |
| Frozen sweet corn | Easy | Good | ~24-30 hours | Yes |
| Diced apple | Easy | Good | ~26-34 hours | Yes |
| Sliced banana | Moderate (high sugar) | Fair (can stay tacky) | ~30-40 hours | Later |
| Broth or milk (liquid) | Moderate | Fair (check center) | ~30-45 hours | Later |
| Cooked ground beef | Harder (fat) | Harder to read | ~30-44 hours | After several loads |
| Candy (puffed) | Specialty | Visual (puff) | Varies widely | Experiment load |
How the First Batch Connects to the Rest of Your Process
A clean first batch is the foundation for everything downstream: packaging, storage, and the economics that decide whether the machine earns its place. Once you can reliably produce dry food, the next skill is keeping it dry, which means mylar bags, oxygen absorbers, and an honest understanding of what shelf life is commonly reported to be versus guaranteed. I will say this plainly because the category often does not: the long storage-life numbers you see quoted are commonly reported figures, not a guarantee, and they depend entirely on the food being fully dry and properly sealed. For anything where safety rather than quality is the question, especially low-acid foods and meats, USDA Food Safety and Inspection Service guidance, including its published safe internal temperatures such as 165°F for poultry, is the standard to follow, not a hobby blog.
I think of freeze drying as one bench in a longer preservation line that includes my curing chamber and fermentation crocks. The freeze dryer just runs colder and louder. If you are still deciding whether the machine fits your kitchen and budget at all, that question belongs upstream of your first batch, and I worked through the full ownership reality and the buying decision before I ever loaded a tray. Your first cycle times also depend heavily on the food, which is why my cycle-time records are worth a look before you plan a load. For now, start with one tray of strawberries, log it, and confirm the snap. Everything else builds on that first clean cycle.
Frequently Asked Questions
What is the easiest first freeze dryer batch?
A single tray of pre-frozen sliced strawberries is the easiest first batch. It runs in roughly 24 to 30 hours and the snap test is unmistakable, so you learn to judge doneness on food that makes the answer obvious.
Do you have to pre-freeze food before freeze drying?
You do not have to, but pre-freezing food solid shortens the cycle and improves even drying. Food loaded warm forces the machine to freeze it down first, which adds hours. A chest-freezer assist is the cheapest process upgrade.
How thick should freeze dryer trays be loaded?
Load trays in a single even layer about a quarter to half an inch deep, spread to the edges without piling. Thick or piled centers trap moisture and dry last, which is the most common reason loads fail the dry check.
How do you know when a freeze drying cycle is done?
Use three checks: the snap or crumble test on the thickest piece, a weight comparison against your batch log, and a temperature check that the food has warmed to room temperature. A bend or a cool center means it needs more time.
What do you do if a batch is not fully dry?
Add extra dry time in increments rather than sealing it. A load that failed the snap test in the center usually needs another two to six hours. Re-running is normal. Thinner layers and colder pre-freeze reduce how often it happens.
How long does a first freeze dryer batch take?
A simple pre-frozen fruit or vegetable load in a thin layer commonly runs 24 to 36 hours in a home machine. Cycle time depends on food type, load weight, tray density, and your specific unit, which is why a batch log matters.