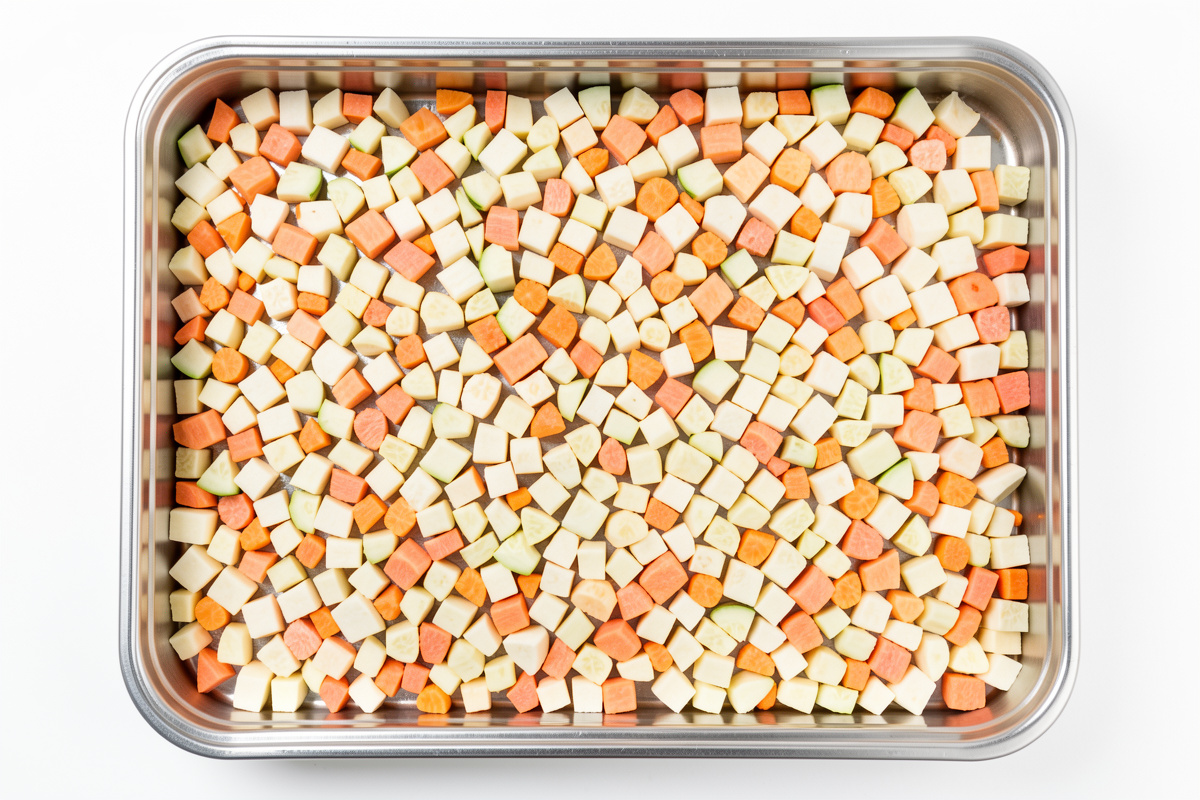

Load freeze dryer trays in a single even layer about a quarter to half an inch deep, spread to the edges without piling. Tray density is the variable that most often turns a planned 30-hour cycle into a 48-hour one. In my batch log, the loads that fail the dry check almost always failed because the center was packed too thick to dry in step with the edges.
This is the step new owners get wrong most often, because the instinct is to fill the chamber. You paid for the capacity, so why not use all of it? The answer is in the cycle times and the failed loads. A machine cannot dry a thick center as fast as a thin edge, so an overpacked tray runs long and still comes out moist in the middle. Once I started weighing and spreading loads consistently, my cycle times became predictable enough to log and plan around. This guide is the density discipline from that log: how thick, how even, and why overloading costs you more than it gives.
How Thick Should You Load Freeze Dryer Trays?
Load trays in a single even layer roughly a quarter to half an inch deep. For most fruits and vegetables, that means pieces sitting in one layer across the tray with no piling. Thin loads dry faster and more evenly; thick or piled loads trap moisture in the center and are the leading cause of failed dry checks.
The exact depth depends on the food. Dense, watery items like tomato or melon do best on the thinner end because they hold a lot of water relative to their size. Light, airy items like herbs or pre-cooked rice can go a little deeper because there is less water to remove per inch. The rule that holds across all of them is even: whatever depth you choose, keep it uniform across the whole tray. A tray that is thin at the edges and mounded in the middle will always finish the edges first and leave the center wet, which is exactly the load that fools you on the dry check if you test the wrong piece.

What Happens When You Overload the Trays?
When you overload trays, the cycle runs longer, the center dries last, and the load often fails the dry check in the middle even after the edges are done. Overpacking is false economy: you fit more food per batch but spend more total time and risk losing the whole load to under-drying. Thin and reliable beats thick and uncertain.
I learned this the expensive way early on, packing trays deep to make the most of a run and then pulling a load that snapped at the edges but bent in the center. Resealing and re-running cost me more time than two properly loaded batches would have. The machine pulls moisture from the surface inward, so a deep load has a long way to go in the middle, and the surface can finish and even start to over-dry while the core is still releasing water. There is no setting that fixes an overpacked tray; the only fix is to spread thinner. Throughput matters once you are experienced, but reliability matters more while you are learning what your machine does. There is a hidden cost to overloading too, beyond the failed load: every re-run adds wear and energy, and a load you have to dry twice quietly erodes the batch economics that justified the machine in the first place. I would rather run two clean thin loads than one packed load that gambles on the center finishing. The same discipline that keeps a curing chamber honest, trusting the measurement over the wishful thinking, keeps the freeze dryer honest. Spread it thin, weigh it, log it, and let the data tell you how much you can actually fit before reliability drops off.
Does Tray Density Change Cycle Time?
Yes, tray density is one of the biggest drivers of cycle time. Total water in the load and how that water is distributed determine how long sublimation takes. A thin, even layer of the same food finishes hours sooner than a thick, piled one, which is why logging load weight against cycle time is so useful.
This is where the batch log earns its keep. Once you record load weight and cycle time across a dozen runs, you can predict how long a given load will take before you start it. Two pounds of sliced strawberries spread thin might run about 30 hours on my machine; the same two pounds piled deep runs longer and less predictably. Density and water content together set the clock, and the only way to remove the guesswork is to control density deliberately and write down what happens. That is the difference between an operator who plans loads and an owner who hopes they finish overnight, and it is the same logic I apply to the wider cycle-time records that drive my batch planning.
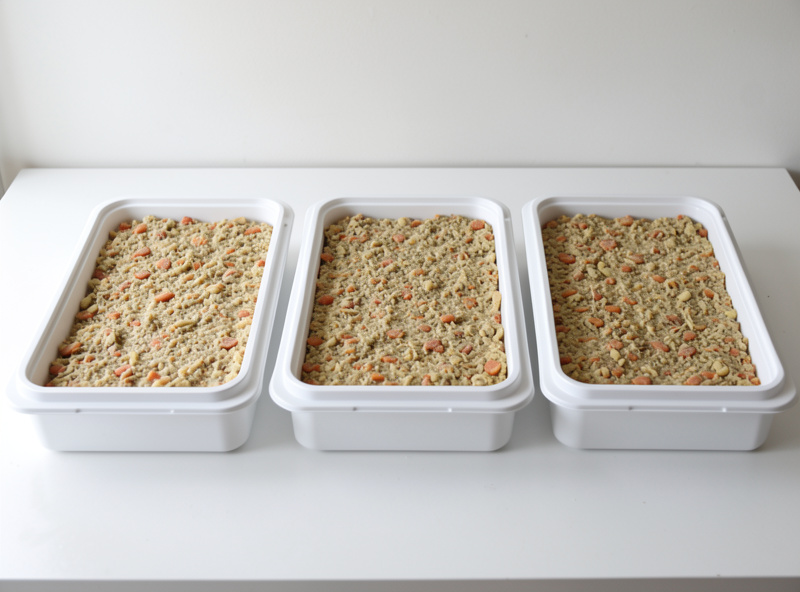
How to Balance a Load Across Multiple Trays
Balance loads by keeping each tray at a similar weight and depth, because the machine finishes the whole load only when the slowest tray is done. A packed tray paired with a sparse one means you wait on the heavy one while the light one over-dries. Even distribution across all trays keeps the cycle efficient and your dry check meaningful.
I distribute food so every tray carries roughly the same load, and I keep piece sizes consistent within and across trays. Mixing thin slices and thick chunks on the same tray guarantees uneven drying, so I cut to a uniform thickness before loading. A reusable set of food-grade silicone tray liners makes spreading and releasing an even layer easier and keeps sticky foods from welding to the metal. A simple digital kitchen scale lets you match tray weights and log them, which is the habit that makes your cycle times comparable run to run. Capacity is one of the things I weigh when judging whether the machine earns its place, a question I work through in the ownership reality guide.
As an Amazon Associate I earn from qualifying purchases.
Tray Loading Guidelines by Food Type
Different foods reward different loading depths and handling. This table summarizes how I load common categories, based on water content and how they behave on the tray. Depths are guidelines from my batch log, not hard limits, and even distribution always matters more than hitting an exact number.
| Food Type | Loading Depth | Notes |
|---|---|---|
| Watery fruit (strawberry, melon) | Thin (~1/4 inch) | High water, dries slow if piled |
| Firm fruit (apple, banana) | Thin to medium | Uniform slices, watch sugar |
| Vegetables (corn, peas, carrot) | Medium (~1/4 to 1/2 inch) | Even single layer |
| Herbs and greens | Light and fluffy | Low water, can mound gently |
| Cooked grains (rice, pasta) | Medium | Break up clumps, spread even |
| Liquids (broth, puree) | Shallow (~1/2 inch) | Pre-freeze flat in tray first |
Frequently Asked Questions
How thick should you load freeze dryer trays?
Load trays in a single even layer about a quarter to half an inch deep, spread to the edges without piling. Thin even loads dry faster and more reliably, while thick or mounded centers trap moisture and cause failed dry checks.
What happens if you overload a freeze dryer tray?
Overloading makes the cycle run longer and leaves the center moist even after the edges are dry, which often fails the dry check. You fit more food per batch but risk losing the whole load to under-drying. Thin and reliable beats thick.
Does tray density affect freeze drying time?
Yes, density is one of the biggest drivers of cycle time. Total water and how it is distributed set how long sublimation takes. The same food spread thin finishes hours sooner than piled deep, which is why logging weight against time helps.
Should every tray have the same amount of food?
Yes. The machine finishes only when the slowest tray is done, so a packed tray paired with a sparse one wastes time and over-dries the light tray. Keep each tray at a similar weight and depth for an efficient, predictable cycle.
Can you load different foods on the same tray?
You can, but keep piece sizes and water content similar so they dry in step. Mixing thin slices with thick chunks guarantees uneven drying. If foods differ a lot in density, separate them onto different trays instead.