
Freeze-dried candy is the easiest, most crowd-pleasing thing a home freeze dryer makes — most candy needs no pre-freezing and runs a short 12–20 hour cycle because there is so little water to sublimate out. The catch nobody mentions: the cleanup and the packaging are where candy loads actually get hard.
I have run candy through my Medium-class Harvest Right more times than I would like to admit, mostly because every visitor who sees the machine asks for it. This guide is the operator version of what I learned: which candy puffs and which gums the trays, the real cycle times from my batch log, and the moisture-control truth that decides whether your treats stay crunchy or turn to glue in the bag. No “25-year candy” fantasy, no health claims — candy is candy. Just the process.
Why candy freeze dries so well (and so fast)
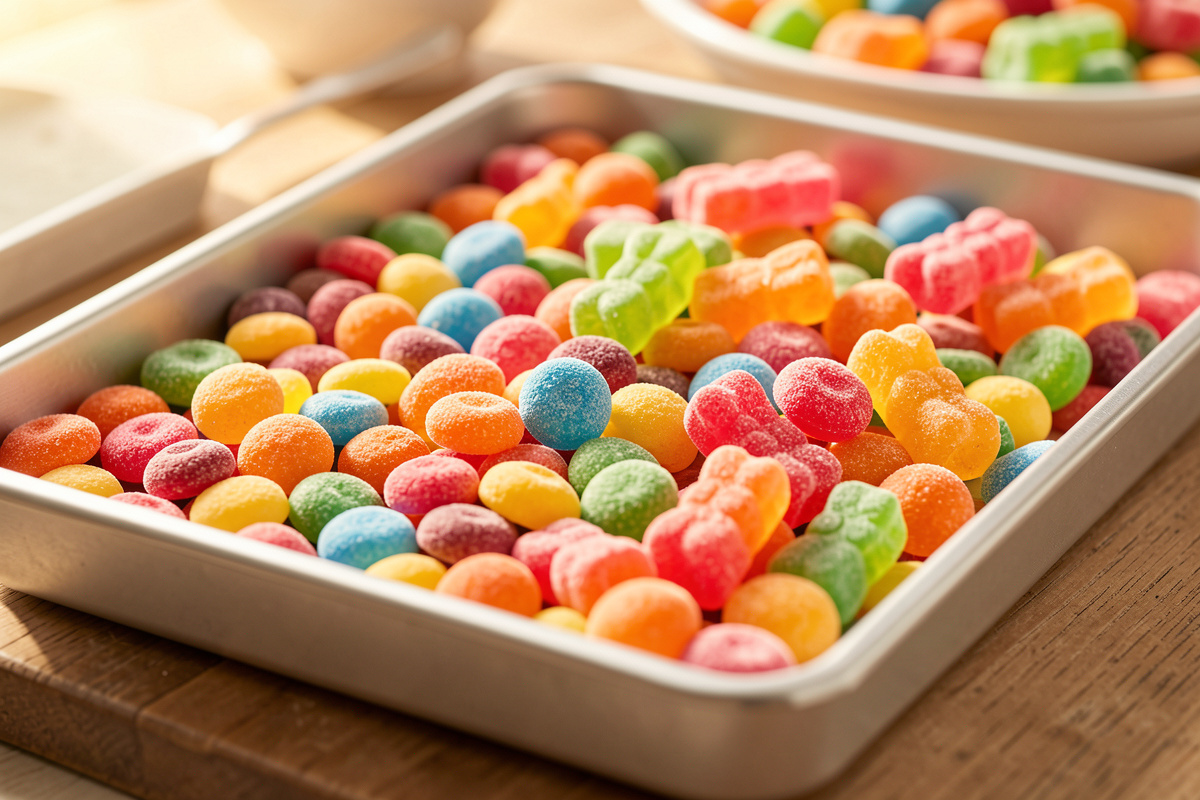
Candy freeze dries beautifully because most of it is sugar with very little free water — and sublimation only has to remove what little moisture is present. A tray of Skittles or fruit snacks can finish in 12–18 hours, less than half the time a tray of strawberries needs, because there is no dense fruit cell structure full of water to pull through. The sugar matrix is what gives candy its showy result: as the trapped moisture and air pockets sublimate, the candy expands and locks into a rigid, porous foam that shatters instead of chews.
That puff is the whole appeal. A flat fruit-snack disc swells into a crunchy meringue-like cloud; a gummy bear triples in size and turns into a sweet, melt-on-the-tongue crisp. It is genuinely fun, and it is the one freeze-drying result that converts skeptics on the spot. My curing chamber taught me to trust logs over feelings, but candy is the rare batch where the feeling — the gasp when someone bites a puffed-up freeze-dried Skittle — is the point.
The machine reality: candy mode, no pre-freeze, lots of cleanup
Most candy skips the pre-freeze step entirely. Because candy holds so little water and so little of it is bound in cell walls, you can load it straight onto room-temperature trays and let the machine’s initial freeze phase handle it. That is the opposite of how I run berries, where a hard pre-freeze in the chest freezer is non-negotiable. For candy I usually skip the separate pre-freezing step and add candy mode if my machine offers it.
“Candy mode” on newer Harvest Right firmware simply runs a warmer, longer dry phase tuned for high-sugar loads — sugar resists giving up its last moisture, so the cycle holds heat longer to finish the job. If your machine does not have the setting, you replicate it by adding extra dry time and checking for doneness manually. The honest downside: sticky candy can melt slightly, run between trays, and bake onto the mylar tray liners. My chocolate and marshmallow loads have left me scrubbing trays for twenty minutes. Budget for cleanup, line your trays, and never overfill.
The candy that works — and what gums the trays
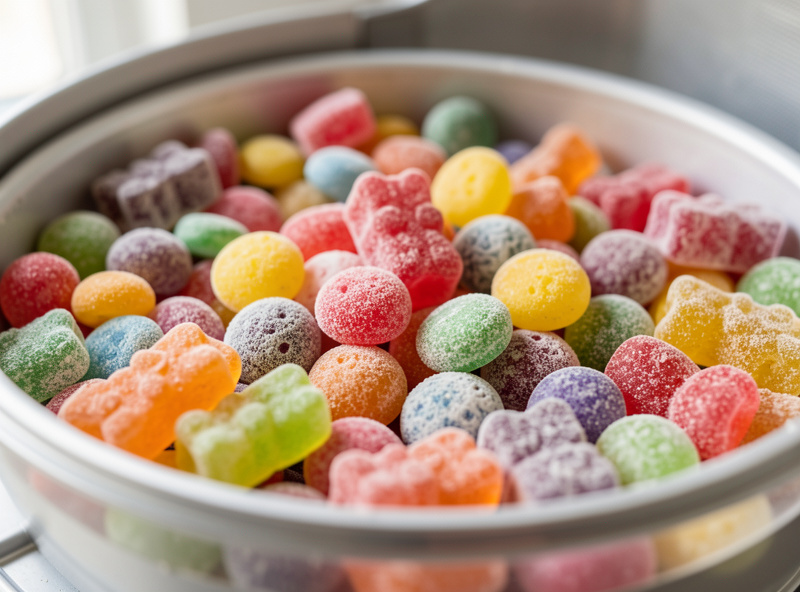
Not all candy behaves the same in the chamber. The rule of thumb from my batch log: candy that already has air in it (marshmallows, taffy, fruit snacks) puffs dramatically and runs clean; dense sugar candy (Skittles, Jolly Ranchers) puffs and shatters nicely; and anything with fat or a low melting point (chocolate, caramel, anything coated) is fussy and messy. Here is how the common loads sort out.
| Candy | Result | Mess factor | Cycle (my log) |
|---|---|---|---|
| Skittles | Puffs huge, crunchy shell | Low | 14–18 hr |
| Gummy bears | Triples in size, crisp foam | Low–medium | 16–24 hr |
| Marshmallows | Doubles, light crunch | Low | 12–16 hr |
| Fruit snacks | Big puff, melt-on-tongue | Low | 12–18 hr |
| Ice cream | Astronaut crumble, holds shape | Medium | 20–28 hr |
| Chocolate | Subtle, can bloom/melt | High | 20–30 hr |
| Caramel/taffy | Puffs but sticks everywhere | High | 18–26 hr |
If you want a clean first candy batch, start with Skittles or marshmallows — both forgiving, both impressive, both easy to clean up. Save chocolate for after you have the dry-check rhythm down, because it is the one that punishes a careless load.
Real cycle times from my batch log
Candy cycles run shorter than food cycles but vary more than the marketing suggests — load weight, tray density, and ambient humidity all move the number. Across my logged candy batches, most finish in 14–24 hours, against the 24–40 hours a typical food load takes. The reason is simply water: there is not much to remove. But “short” does not mean “guess.” Sugar holds its last few percent of moisture stubbornly, and an under-dried candy batch goes stale and chewy fast.
I never pull a candy load on the timer. I pull it on the snap-and-crumble check: a properly dried piece shatters cleanly and has no cold, dense center. If the middle is still chewy or feels cool, it is not done, and I add dry time. For the full method see my guide on when to re-run a batch. Comparing candy against fruit and vegetable loads, the general framing in my cycle-times guide still holds: thinner, drier, lighter loads finish faster.
Dialing in dry time for high-sugar loads
The one setting that matters most for candy is dry time, because sugar fights the final few percent of moisture harder than almost any food. My default is to add 2–6 hours of extra dry time over what the machine proposes for a candy load, then verify by hand rather than trust the readout. Sugar’s stubbornness is physical: the remaining moisture is bound up in the sugar matrix, and the vacuum has to coax it out slowly without melting the structure.
If your Harvest Right has candy mode, use it — it simply raises the shelf temperature ceiling and extends the dry phase, which is exactly what high-sugar loads want. If it does not, do it manually: let the cycle run to its proposed end, pull one piece from the center of the densest tray, let it sit ten seconds, and snap it. A clean shatter with no cool core means done; any give means add an hour and re-check. I log the final dry time against the candy type every batch, which is how the table above stays honest instead of becoming guesswork. Same trays, same weights, same check — the discipline is what makes the result repeatable.
Ambient humidity moves the number more than people expect. A candy batch I run in a damp Swedish autumn takes noticeably longer to hit the snap test than the same load in dry winter air, because the machine is also fighting moisture that creeps back during loading and unloading. If your finished candy keeps coming out slightly chewy, the fix is almost always more dry time, not a different candy.
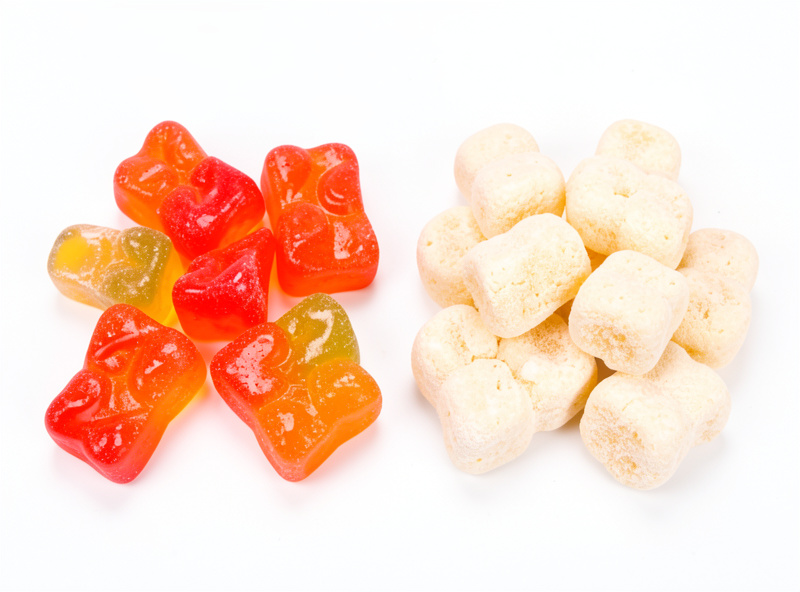
The texture science: why candy puffs and shatters
The puff comes from sublimation leaving the sugar structure rigid and full of voids where ice and trapped air used to be. When water goes straight from solid to vapor under vacuum, it does not collapse the structure the way evaporation does in a dehydrator — it leaves a scaffold behind. That scaffold is why freeze-dried candy is crunchy and airy rather than shrunken and leathery. It is the same physics that makes freeze-dried strawberries light and crisp, just applied to a sugar matrix that holds its shape even better.
This also explains the texture differences across candy types. Gummy bears, made of gelatin and concentrated sugar, expand the most because the gelatin network traps a lot of structure. Hard candy shatters because its glassy sugar has nowhere to flex. Marshmallows, already a sugar foam, simply lock their existing bubbles in place. Understanding the why means you can predict a new candy’s result before you run it — which beats every “just try it and see” video on the internet.
Where candy fits on the preservation bench
Freeze drying is the only preservation method that makes candy better rather than just shelf-stable — and that is worth understanding before you assume it is interchangeable with a dehydrator. Fermentation, curing, and freeze drying are the same hobby at three different water activities, and I run all three benches. Candy sits at the far dry end: you are not preserving nutrition or extending a harvest, you are transforming texture for fun. That reframes every decision.
A dehydrator cannot do this. Heat evaporation shrinks and hardens candy into a sticky, chewy lump because it collapses the sugar structure instead of leaving a scaffold. Vacuum sealing does nothing for candy texture at all — it just removes air around the existing piece. And canning is irrelevant; there is no water activity to make candy a botulism risk in the first place, which is exactly why candy is one of the lowest food-safety-stakes loads you can run. The decision tree is simple: if you want the crunch-puff, only freeze drying delivers it. If you just want the candy to last, the wrapper it came in already does that better than most home methods.
This is also why I tell people candy is the wrong reason to buy a machine but the best reason to enjoy one you already own. The honest economics live in my running-costs guide and the when-it-is-not-worth-it piece. Candy is the treat you make between the garden harvests that actually justify the power bill.
The mistakes that ruin a candy batch
Most failed candy loads come down to four operator errors, and all four are avoidable once you have run a couple of batches. The biggest is overloading sticky candy onto a single tray so it melts together into one sheet — candy needs space to puff, and crowded gummies fuse into a slab that will not break apart. Spread candy in a single layer with gaps and accept that one tray holds less than you think.
The second is pulling on the timer instead of the snap test. Sugar holds its last moisture stubbornly, and a candy that looks done but has a cool, chewy center will go stale within days. The third is skipping tray liners — sticky candy bakes onto bare trays and turns cleanup into a chisel job. The fourth, and the one that wastes the most batches, is leaving the finished candy out to “cool” on the counter. It does not need to cool; it needs to get sealed before it drinks the room’s humidity. Bag it within minutes, not hours.
None of these are dangerous mistakes — candy is forgiving on safety — they are quality and cleanup mistakes. But they are the difference between a batch your family inhales and a sticky tray you scrape into the bin. Learn them on a cheap bag of Skittles before you commit good chocolate.
Packaging candy: moisture control is the entire game
Freeze-dried candy is hygroscopic — it pulls water out of the air aggressively, and a crunchy batch left open will turn sticky and chewy within an hour in a humid kitchen. This is the single most important thing to get right, and it is a food-quality issue, not a shelf-stability promise: candy that reabsorbs moisture is not dangerous, it is just ruined. For anything you are not eating within a day or two, it goes straight into a sealed barrier.
My candy packaging line is the same one I use for food: mylar bags sealed with an impulse sealer for long storage, or jars for candy I will finish within a few weeks. The one difference: candy is dry enough that a small oxygen absorber is plenty, and you mainly want a moisture barrier rather than heavy O2 scavenging. For grab-and-go snack portions I use a cheap mylar bag and oxygen absorber kit. Whatever you read about candy “shelf life,” treat it as commonly reported, not guaranteed — I label and rotate everything per my storage guide. As an Amazon Associate I earn from qualifying purchases.
Is freeze-dried candy a business worth chasing?
Freeze-dried candy is a real and growing micro-business, but the economics are tighter and the food-business rules more involved than the viral videos let on. The product is genuinely sellable — it is novel, photogenic, and people pay a premium for the puff — but you are buying retail candy, paying for power and packaging, and competing with everyone else who watched the same video. The margin is real only at volume and only if you respect your local cottage-food and labeling laws.
I do not sell my candy and I do not publish income claims, because food-business regulation is its own rabbit hole and not my lane. What I can tell you is the operator side: the per-batch cost, the power draw, the packaging spend, and the realistic throughput of one home machine. I put all of that in the freeze-dried candy business guide, alongside the true running costs of owning the machine. Go in clear-eyed: it is a side hustle with real overhead, not a money printer.
The candy cluster: pick your treat
Every candy has its own quirks, so I wrote a dedicated, batch-logged guide for each of the big ones. Start with whichever treat you actually want to make:
- Freeze drying Skittles — the gateway candy: huge puff, easy cleanup, the one everyone asks for first.
- Freeze drying gummy bears — the most dramatic transformation; the texture flips completely.
- Freeze drying ice cream at home — real astronaut ice cream, and the trickiest of the “easy” candy loads.
- Freeze drying marshmallows — the cleanest, most forgiving candy in the chamber.
- Freeze drying chocolate — the fussy one; fat and low melting point fight the process.
- Freeze drying fruit snacks — gummy-adjacent, kid-approved, and very clean to run.
- Selling freeze-dried candy — the honest business and economics breakdown.
If you are still choosing a machine for candy duty, my freeze dryer buying guide and the Small vs Medium capacity comparison will save you from buying too little tray space — candy is bulky once it puffs, and a Small fills up fast.
Frequently Asked Questions
Do you need to pre-freeze candy before freeze drying?
No. Most candy has so little free water that you can load it straight onto room-temperature trays and let the machine’s initial freeze phase handle it. Pre-freezing matters for dense, watery foods like berries, not for high-sugar candy.
How long does it take to freeze dry candy?
Most candy finishes in 14 to 24 hours, against 24 to 40 hours for a typical food load, because there is so little water to remove. Skittles and marshmallows run shortest at 12 to 18 hours; ice cream and chocolate take 20 to 30.
Why did my freeze-dried candy turn sticky?
Freeze-dried candy is hygroscopic and pulls moisture from the air fast. Left open in a humid room it reabsorbs water within an hour and turns chewy. Seal it in mylar or a jar immediately after the cycle to keep it crunchy.
What candy works best for freeze drying?
Skittles, marshmallows, gummy bears, and fruit snacks are the easiest and most impressive. They puff dramatically and clean up easily. Chocolate, caramel, and anything with fat are messier and best left until you have the technique down.
Is freeze-dried candy safe to eat?
Freeze-dried candy is as safe as the candy you started with — the process removes water, it does not change the ingredients. It is a treat, not a health food, and no nutritional or shelf-life guarantees apply. Store it dry and sealed for best quality.
Can you make money selling freeze-dried candy?
It is a real micro-business but the margins are tighter than viral videos suggest. You are buying retail candy, paying for power and packaging, and you must follow local cottage-food and labeling laws. Treat it as a side hustle with real overhead, not a money printer.