
Rehydrating freeze dried meals in the field comes down to three things: roughly matching the water you add to the water the machine pulled out, using hot water when you can, and giving the meal time to sit covered. Get those right and a logged stew comes back close to fresh in ten to fifteen minutes; get them wrong and you eat crunchy rice or soup.
I run a home freeze dryer and I weigh my meals before and after drying, so I have a decent idea how much water each pouch lost — which is exactly the number I want back at camp. This page is the field side of the freeze dried meals guide: how much water, how long, hot versus cold, and the small tricks that make a trail dinner actually good instead of merely edible.
Start With the Water You Removed
The simplest rule that works: add back about the volume of water the meal lost, then adjust. For most of my single-serving pouches that lands near a cup to a cup and a half of water, but the honest answer is that it varies by dish, so I label the water amount on every bag at prep time.
Writing the water amount on the pouch when I seal it removes all the guesswork on the trail. A saucy stew wants more; a drier scramble wants less. I’d rather under-pour and add a splash than drown the meal, because you can always add water but you can’t take it out. If you’re still setting up your prep routine, the labeling step is covered in freeze dried meal prep for camping — it’s the same label that tells you the cook time in the field.
Hot Water Wins, Cold Water Works
Hot water rehydrates faster and more completely — near-boiling water brings most meals back in ten to fifteen minutes, where a cold soak can take an hour or more. Heat speeds the water back into the food and softens starches and proteins that cold water leaves stubborn.
That said, cold soaking is a real option when fuel is scarce or you’re moving. I’ll start a pouch cold-soaking in my pack an hour or two before a lunch stop and it’s ready when I am. The trade-offs are time and texture: cold-soaked meals are a little firmer and fattier dishes never fully come back without heat. For anything with meat or a rich sauce, I use hot water; for simple grain-and-vegetable lunches, cold soaking is fine. On the food-safety side of rehydrating meat-based meals I follow USDA guidance rather than improvising. Either way, stir once at the start so no dry pocket hides in a corner.
Cover It, Wait, and Stir
The step most people skip is the simplest: cover the meal and leave it alone. A covered pouch holds heat and steam, which is what drives water into the densest pieces, so patience does more than stirring constantly.
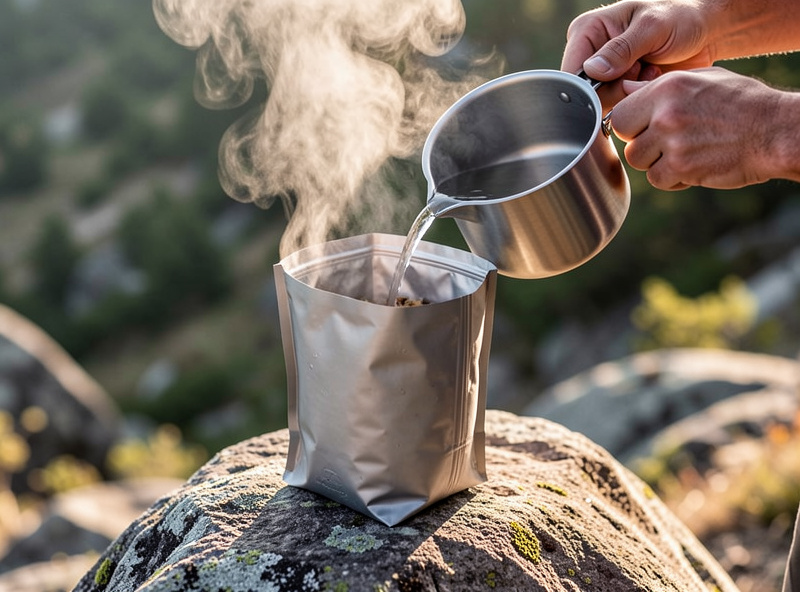
I pour, stir once to wet everything, seal or cover the pouch, and set a timer. Insulating the pouch — tucking it inside a jacket or a simple cozy — keeps the temperature up and finishes the rehydration faster and more evenly, which matters a lot in cold weather when a pouch on a rock loses heat in minutes. After the wait I stir again and check the densest pieces; if the meat or beans are still firm in the middle, I add a splash of hot water and give it five more minutes rather than calling it done. The same dry-check instinct I use on the machine — check the thickest piece, not the surface — applies in the field.
Altitude is the quiet variable here. Water boils cooler the higher you climb, so the “boiling” water on a high pass is genuinely less hot than the same pot at sea level, and meals rehydrate slower because of it. On high trips I just plan for longer soaks and lean harder on insulating the pouch, rather than fighting a stove that can’t get the water any hotter.
Fixing the Common Field Problems
Most rehydration failures trace back to one of three causes: not enough water, water that wasn’t hot enough, or not enough time. Knowing which one you’re facing lets you rescue the meal instead of eating it disappointed.
Crunchy bits in the middle mean it needed more time or hotter water — cover it longer and add a hot splash. A soupy meal means too much water, which you can ride out by letting it sit uncovered to cool and thicken, or by spooning off the excess. A greasy, separated texture usually means the dish was too fatty to dry well in the first place, which is a prep problem, not a field one — the fix happens back home, covered in the making your own freeze dried backpacking food workflow. And if a meal tastes flat, a pinch of salt or a squeeze of carried oil at the end does more than any amount of extra water. For the bigger question of how much energy each meal is actually delivering, see calorie-dense freeze dried backpacking meals.
Different Meals Want Different Soaks
Not every pouch rehydrates the same way, and matching your approach to the dish saves both fuel and disappointment. The variable that matters most is density: the more solid mass a meal has, the more water and time it needs to come fully back.
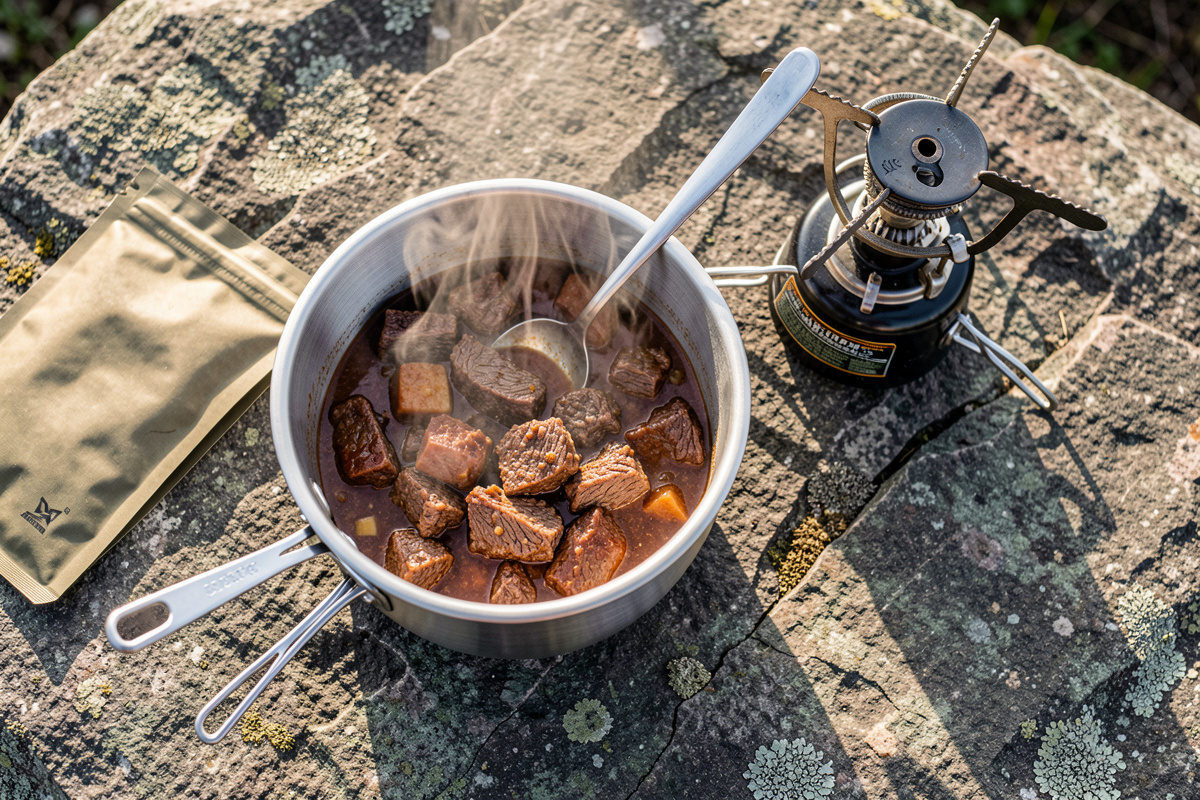
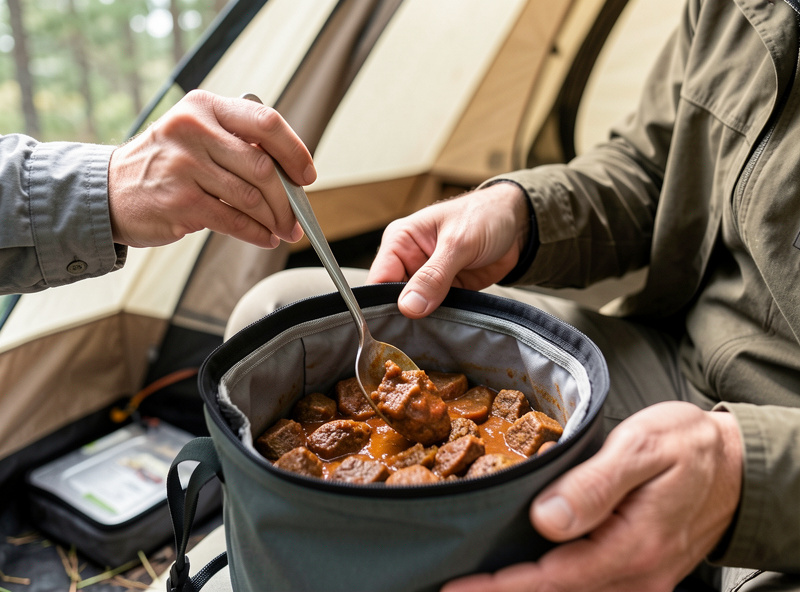
Breakfast scrambles and anything with eggs are the fastest — they want less water and a short five-to-ten-minute soak, and over-watering turns them to slop. Grain and pasta dishes sit in the middle; they drink a fair amount of water and reward a full cover-and-wait, because under-soaked pasta stays chalky in the core. Chunky stews with diced meat are the slowest and the most worth getting right: generous hot water, a longer wait, and a second check of the biggest pieces before you commit. Soups and broths are the easy case — they were liquid to begin with, so you’re really just stirring powder back into hot water until it looks right.
This is the same logic that drives cycle times on the machine, just running in reverse: dense, wet food takes the longest to dry and the longest to bring back. If you understand how a meal behaved going into the chamber, you already know how it’ll behave coming back at camp — which is one more reason the freeze dried meals guide is worth reading before your first big trip.
Frequently Asked Questions
How much water do you add to a freeze dried meal?
Add back roughly the volume of water the meal lost in drying, which for most single-serving pouches lands near one to one and a half cups. Label the exact amount on each bag at prep time, and under-pour rather than over-pour since you can always add more.
How long does it take to rehydrate a freeze dried meal?
With near-boiling water most meals come back in ten to fifteen minutes covered. A cold soak takes an hour or more. Denser pieces of meat or beans need the longer end of that range.
Can you rehydrate freeze dried meals with cold water?
Yes, cold soaking works for simple grain and vegetable meals if you give it an hour or more, and it saves fuel. Cold-soaked food is firmer, and fatty or meat-heavy dishes never fully rehydrate without heat.
Why is my rehydrated meal still crunchy in the middle?
It needed more time or hotter water. Cover the pouch, add a splash of hot water, and wait another five minutes. Always check the densest pieces rather than the surface before deciding it is done.
Should you cover a meal while it rehydrates?
Yes. Covering holds heat and steam, which drives water into the densest pieces and finishes the meal faster and more evenly. Insulating the pouch inside a jacket or cozy helps a lot in cold weather.